Cold Porcelain Miniature Flower Tutorial – Page 3
Basic “Cold Porcelain”
Miniature Flower Making Tutorial
Making the flowers – Part 2
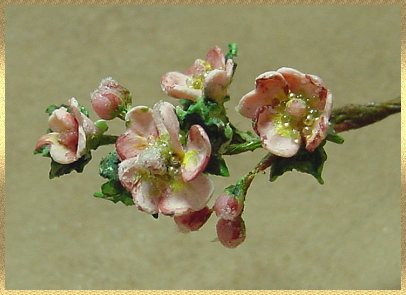
1/12th scale Apple Blossoms
Our flower is just starting to progress. Now we will add the petals to the stamen
that we made earlier.
Your ball stylus, tacky glue, stamen and a steady hand will be needed.
A magnifying lamp will be helpful if you find it difficult to see tiny things well.
Carefully place a heart cutout on your index finger. Use the ball end of the stylus to cup the petal and use the pointed end to add tiny detail lines. This is a good time to help thin out the petal if needed.
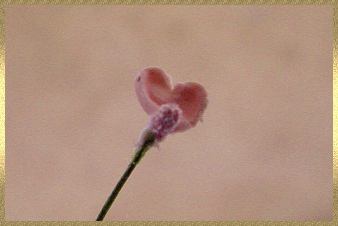 Gently dip the pointed end of petal in tacky glue (or you can add tacky glue to the stem). Lightly press the pointed end to the side of the stamen. We want the stamen to stick up so be sure to place petal near the base of the stamen.
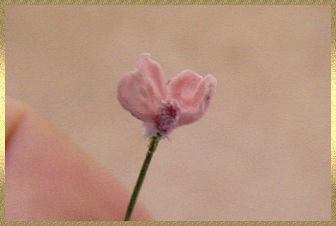 Repeat the cupping and forming with the next petal. Add it to the stamen overlapping the first petal. We will continue going around the stamen to add 5 petals total. Each time one edge will overlap the last and the other edge will go under the next petal.
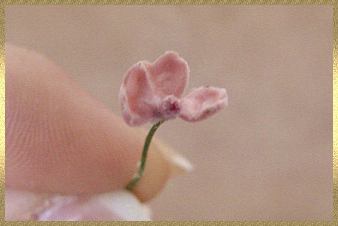 It is hard to see in this photo but there are 3 petals in place. Each one overlapping the previous petal.
I don’t know about you, but this is exciting to me! Our flower is really taking shape.
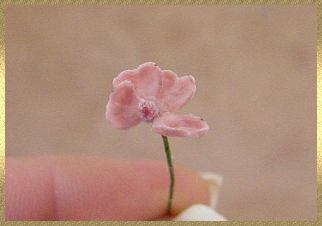 Petal # 4 continues it’s journey around the stamen. As tiny as this flower is, you can really see the small details helping to create the illusion of a real flower.
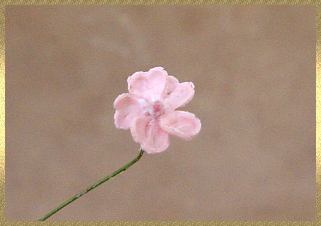 Petal # 5 is now in place. You can see clearly in this photo how each petal overlaps the last one.
Now we will just set this flower aside to dry a bit. It can be just a couple of hours or overnight.
Back Next Page
© Gina C. Bellous 2001 – 2015 – All Rights Reserved
This tutorial is for your personal use only.
NO portion of this tutorial may be
reprinted without permission,
copied for sale, or to be taught as your own.
Thank you for your cooperation
Enjoy!

