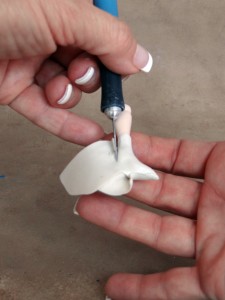
Making A Miniature Doll Shoe
Thank you do much for joining me in this next tutorial. As I have mentioned before, when making miniatures, it is ALL about illusion. We all love tiny leather shoes, but often times no matter how thin the leather is, the shoe will look bulky or thick. The solution? I like to make my miniature doll shoes from polymer clay. You can make them in the flesh color and paint them. (I prefer this method) or you can use one of the many colors or Fimo or Sculpy and even mix your own colors if you don’t want to paint them.
The reason I prefer the flesh color is that I can paint them to match or coordinate with a doll’s costume and my possibilities are endless.
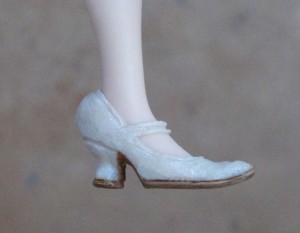
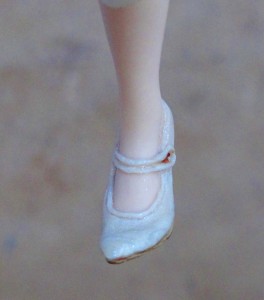
In this tutorial we will be creating an Edwardian style single strap high heel in Pearl White Sculpey Clay.
Supplies:
- Fimo or Sculpey Polymer Clay (color of your choice)
- Baby Powder
- Ball Stylus
- Needle Tool
- Exacto Knife
- Wooden Dowel or Hot Glue Stick (mini rolling pin)
- Smooth Surface/work space
- Soft Brush for smoothing
- Porcelain Doll Legs of your choice. Plain heels or feet work best.
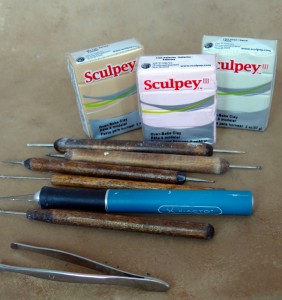
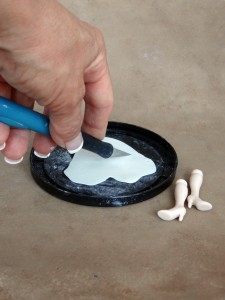
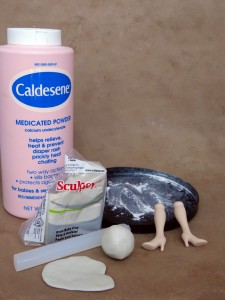 Here you can see some of the supplies. I used a black plastic lid to roll out the clay for photographic purposes.
The clay is Sculpey – Pearl White
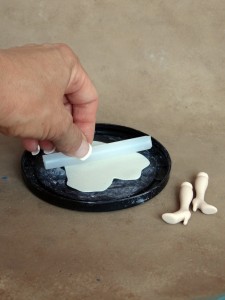
Using a Hot Glue Stick is a great way to roll out the clay
Be sure to dust your work surface as well as the top of the clay as you roll it out. I used a cornstarch based powder but any powder will work.
Make sure your hands are CLEAN!
Be sure you have dusted both your work surface and the top of the clay.
Take a small ball of clay and flatten it out a bit
Roll the clay out as thinly as possible. The thinner, the better.
After the clay has been rolled out as thin as possible ,
Use a sharp exacto knife to cut the clay in half.
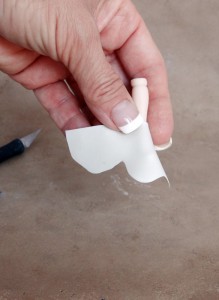
Take one half of the rolled out clay and gently drape it over the front of the dolls foot.
Remember, clean hands are a must through out this tutorial especially if you are not going to paint the shoes a color.
Gently press the clay to the porcelain foot.
You are trying to get it to stick to the porcelain
You need to create a good tight bond
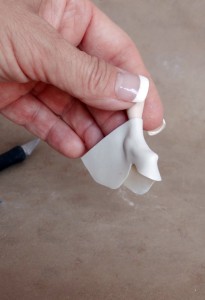
As you gently press the clay to the foot, pinch the front ot the clay to form a nice point.
This will extend the toe of the existing foot/shoe.
Don’t cut this off.
Right now you are probably thinking this would make a nice boot. You are right, and you can choose to make any style shoe or boot you like, the technique will still be very similar.
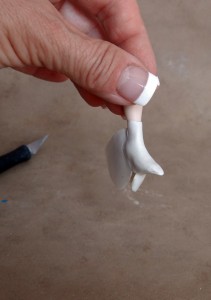
Once you are satisfied that the clay has adhered to the porcelain, take your sharp Exacto blade and trim the clay off of the back of the foot, down the back of the leg.
Next Page
© Gina C. Bellous 2015 – All Rights Reserved
This tutorial is for your personal use only.
NO portion of this tutorial may be
reprinted without permission,
copied for sale, or to be taught as your own.
Thank you for your cooperation
Enjoy!

