Making A Miniature Doll Shoe – Part 2
 Thanks for continuing on. Now the shoe will really start to take shape.
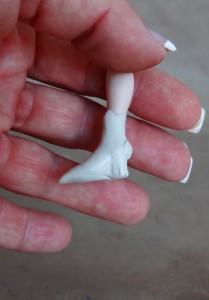
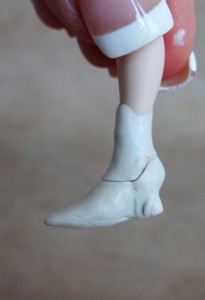
After cutting the clay down the back of the shoe
Proceed to cut the clay across the bottom of the foot.
You want to leave a little bit of the clay there, but don’t worry
if the porcelain peeks through a bit on the bottom, you can always add it back later
Now pad out the back of the heel/foot by adding a tiny dome of clay.
It will give the shoe that vintage look and add to the realism
If you find the clay getting too soft, put the leg in the
refrigerator for a few moments.
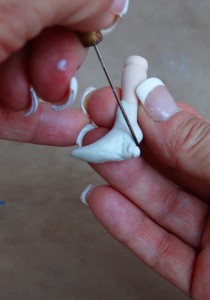
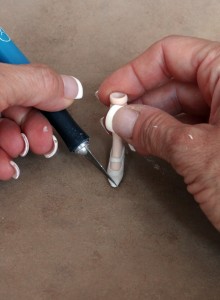
Use the needle tool in a rolling motion to shape and smooth the back of the shoe.
Press into the clay to start the shape of the actual heel of the shoe.
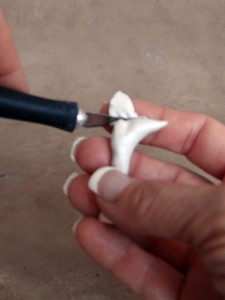
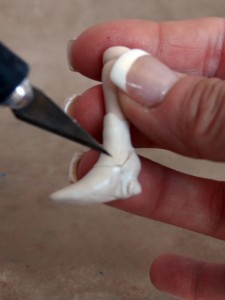
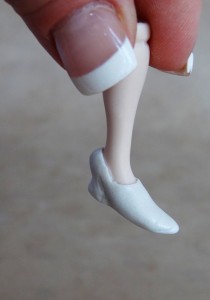
Now we will take a sharp exacto knife and start to cut around the shoe.
This is where you kiss the idea of making a boot goodbye for now, lol.
We are making a 1 strap shoe so as you trace around the shoe be sure not to go too low. You will see what I mean in the next step.
Here you can see we are beginning what
will become the strap of the shoe.
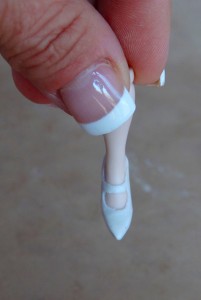
Here you can see the first cut out. I know the shoe looks
long and weird right now, but it won’t for long.
Trust me!
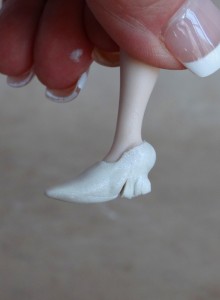
Now make a clean-cut from the outside of the bottom of the shoe
up towards the underside of the shoe.
Be sure to skim the bottom of the arch part of the shoe closely
You will be removing the clay from this area.
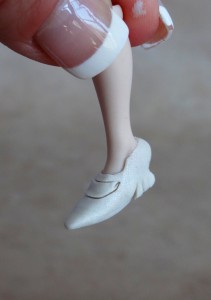
Now we go on to the second cutout on the top of the shoe
It is a tiny crescent shape cutout.
This will create the strap of the shoe.
Gently remove this crescent-shaped cutout
with the tip of your exacto blade.
You can now shorten the toe of your high heel.
Gently stand the shoe , and press down a tiny bit.
Use your exacto blade to trim some of the excess
clay from each side of the toe of the shoe.
Do this a little at a time, remember which foot you are working on, the left or the right, as shoes tend to turn inward a bit.
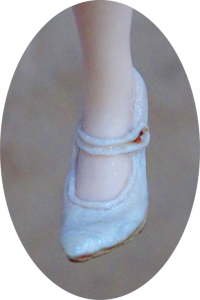
It’s beginning to look like a pretty little leather heel.
Be sure to constantly check the shape and thickness.
You will find yourself constantly cleaning up the lines
and adjusting them as you work since the clay will
shift and move.
Back Next
© Gina C. Bellous 2015 – All Rights Reserved
This tutorial is for your personal use only.
NO portion of this tutorial may be
reprinted without permission,
copied for sale, or to be taught as your own.
Thank you for your cooperation
Enjoy!

