Feather Dyeing – Part 3
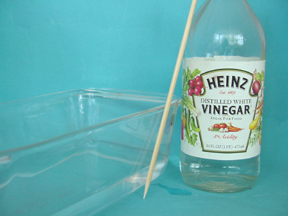 On the last page we left our feathers bathing nicely in our Acid DyeYou don’t need to leave them too long.While they are coloring, fill a glass loaf pan about 1/3 to 1/2 full of cool water Add a couple of tablespoons of white vinegar to it.
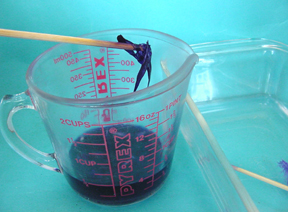 By now, you are looking at the cup of dye and feathers and thinking…….hmmm, The feathers seem to have disappeared.They are like a wet dog, (smells like one too), they seem to shrink and disappear.
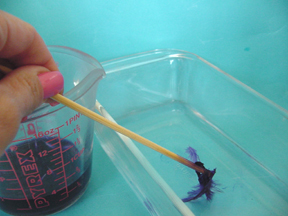 We will now go fishing. I like to use the wooden skewers because the feathers
seem to cling to the wood when I swish it around and I can catch most of them
up with out much effort.
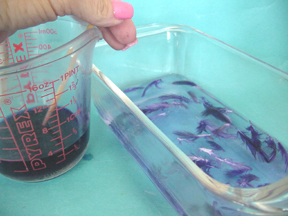 Keep dipping the wooden skewer into the dye, catching some feathers, and
transferring them over to the cool water/vinegar bath to let them rinse
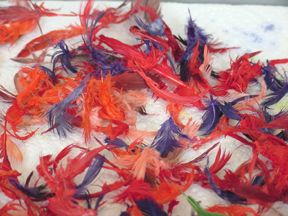 Place several paper towels into the bottom of a small baking pan.
Now transfer the feathers from the water rinse to the paper towels.
They will look like a bunch of shrunken wads of nothing!
You will surely think you have ruined them! You have not!
I like to put my feathers in a warm (200 degrees) oven to dry. Use a baking pan with sides. It will help to keep the feathers from blowing away should a breeze (or sneeze) come by. They will look a little fluffier when dry, but will still need to be fluffed up as you use them.
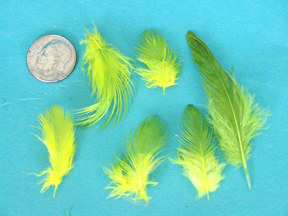 These feathers were first dyed a bright yellow, and then hand dipped in green
about halfway deep to give them a two toned appearance. The photo does not do
them justice. They are exquisite.
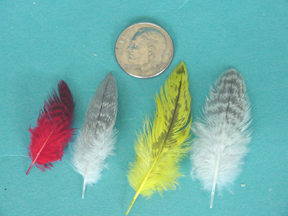 This photo shows two natural feathers
before dying and then in color.
Thanks for spending time here at this tutorial.
I hope it was helpful. I will be fine tuning it as
I find things that need fixing.
Next we will make a hat using these lovely colored feathers.
Check Back or Email me with any questions!
Back
NOTE: I mostly use the body and chest/breast feathers of the birds.
I rarely use the flight or tail feathers as these are too large and in many cases too rigid to work with.
BIGGER NOTE: I ONLY USE NATURALLY SHED FEATHERS,
NO BIRDS ARE EVER HARMED IN ANY WAY.
ALL BIRDS WHOSE FEATHERS I USE ARE MY BELOVED PETS!
© Gina C. Bellous 2001 – 2015 – All Rights Reserved
This tutorial is for your personal use only.
NO portion of this tutorial may be
reprinted without permission,
copied for sale, or to be taught as your own.
Thank you for your cooperation
Enjoy!

