Miniature Witch Hat Tutorial
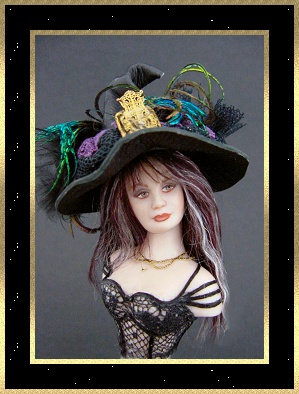
Introducing “Sorceria”
The Making of a Witch’s Hat
A beautiful sorceress/witch in need
of a new hat for her “Hot Date”
I will get right to the point with the photos and let them show you the way!
Materials Needed:
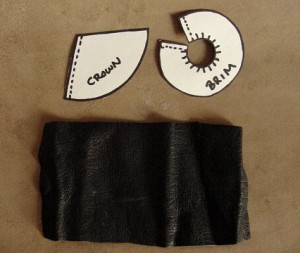
Small Pieces of soft black leather
Thin Cardstock (3 x 5 cards are great)
Tacky Glue, Sharp Scissors, Black Marker
Pattern (found at the end of this tutorial)
This is a tutorial for just the basic hat. Embellishing can be found in another
Tutorial I did here: http://ginabellousdolls.com/victorian-hat-tutorial/
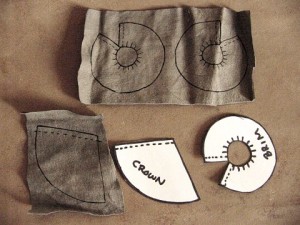 Trace around the patterns
using a black pen or marker
onto the wrong side of the fine leather
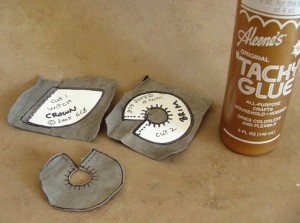 Use Tacky glue to glue the
pieces to the leather.
Let dry.
Notice that one brim piece has
been trimmed leaving a small
seam allowance all around it.
This is important.
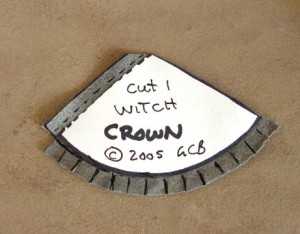 Trim the leather for brim as shown
Leave a small allowance
on bottom edge
Cut paper pattern allowance edge
on side as shown to reveal the leather
underneath. This will make gluing
easier and the seam will lay flat.
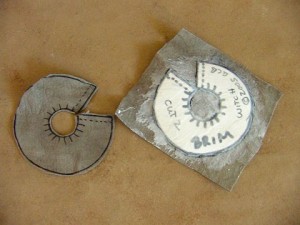 Apply a thin, even layer of tacky glue
over the glued paper pattern on brim.
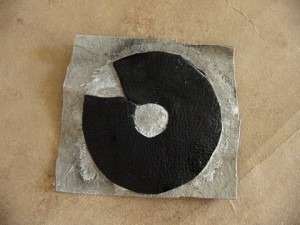 Carefully lay the other brim piece
over the glue and smooth it down.
Use a damp cloth to remove any excess
glue now while it is still wet.
Be sure to really press the pieces together.
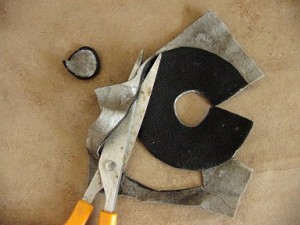 While it is still damp, use sharp scissors
to trim around the hat.
Notice my ugly scissors. I use this
pair for cutting through things like wet glue.
If you saw my other hat tutorial,
you know that cutting while it is still
damp seals the edges of the brim
with the cardstock in between.
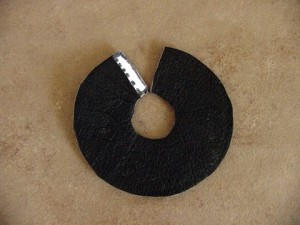 Be sure to press the edges
of the brim together and make
sure it is sealed tight.
Here is a picture showing how to cut away one side of the leather along the seam allowance. This will make it easier to glue the back seam and it will lay flat. You want to remove the paper too. I left it on so you could see
better in the photo.
Hey, Lets go on to the next page and see how it all turns out!
Next Page
© Gina C. Bellous 2005 – 2012 – All Rights Reserved
This tutorial is for your personal use only.
NO portion of this tutorial may be
reprinted without permission,
copied for sale, or to be taught as your own.
Thank you for your cooperation
Enjoy!

