Making A Miniature Doll Shoe – Part 3
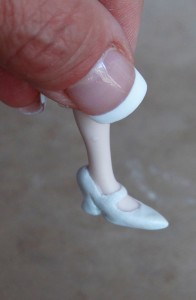
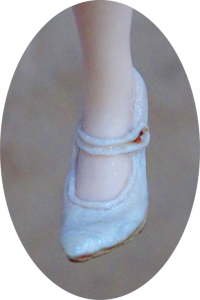 The shoe is really taking shape now – Hang in there, You can do it!
You can decide it you want to trim more off the toe as you go along
The shoe will keep changing as you press it, push it and smooth it
Here you can see that the heel has beter shape
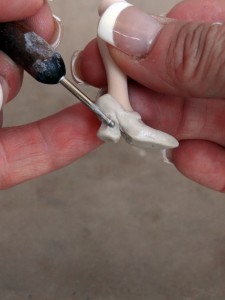
Continue to shape the heel by pressing into it with
a ball stylus. You want the heel to taper in under
the bottom of the shoe, and flare out on the sides a bit
You can use the stylus to shape and the needle tool
to smooth things out.
Here you can see the needle tool in action.
Don’t scrape it across the surface, but rather roll
it like a tiny rolling pin to gently smooth the clay.
be patient and take your time.
Continue to clean up the lines arund the shoe
as you go.
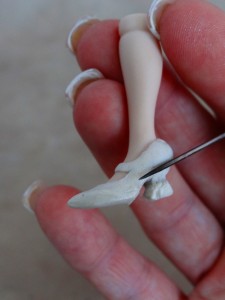
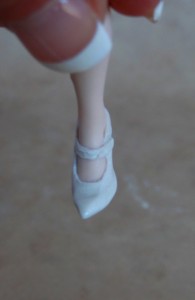
Now use your needle tool to sculpt a little illusion of the strap
laying on the shoe. This is the left leg so the strap is on the doll’s
left side.
Just press the needle tool into the clay to suggest such
an overlap. This can be deepened further once you are satisfied
with the placement.
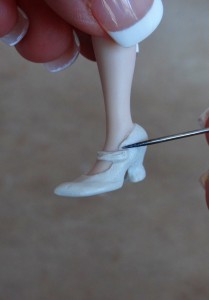
You can see in the front view how it looks like
the strap is actually resting on the side of the shoe.
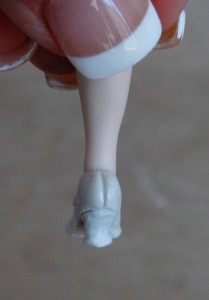
Use the needle tool to carefully put a
“seam-line” down the back of the shoe.
You can see that a line has also been added around the heel
of the shoe to make that separation from the upper part of the
shoe and the heel
Now for more fun.
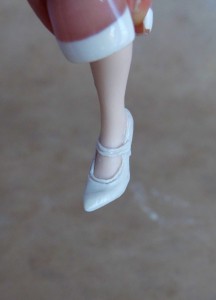
With light pressure, carefully drag the needle
around the edges of the shoe to create the look of seams.
Add a “seam” across the strap…if you dare.
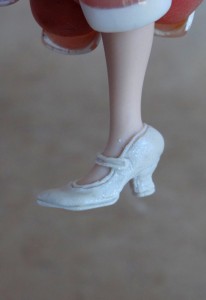
You can see from this side view that lines have
also been added to create the sole of the shoe.
Look at your own shoes if you are unsure how to
do this. Shoes are still made pretty much the same
way. You could also at this point add a
tan colored clay sole to the shoe instead, if you don’t
want to paint it.
Back Next
© Gina C. Bellous 2015 – All Rights Reserved
This tutorial is for your personal use only.
NO portion of this tutorial may be
reprinted without permission,
copied for sale, or to be taught as your own.
Thank you for your cooperation
Enjoy!

