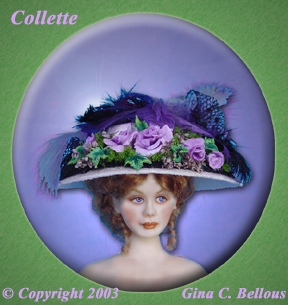
Victorian Hat Tutorial
Directions for Basic Hat with Lots of Style !
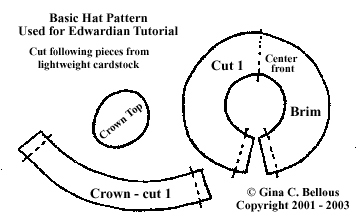
Please right click on the pattern above and save it to your computer.
It was printed on a 3 x 5 index card and should print actual size.
Okay, again, I will let the pictures do most of the talking!
The hat you will create from this tutorial will become the base
for all of the hats you will want to design.
It is a good foundation for almost any style.
With a few adaptations in the brim and crown this
hat can become a hat for any occasion.
Supplies:
-
Card Stock (un-lined index cards or paper plates work well for this)
-
Sharp scissors
-
Dyed Feathers (see previous tutorial)
-
Tacky Glue
-
Natural Dried Flowers
-
Basic Pattern
-
Mini Landscape bush material
-
Cotton Lace
-
Silk Ribbons (if desired)
-
Cold Porcelain Roses & Leaves (I made my own, and will have a tutorial on the technique soon)
-
Small pieces of natural fabric such as cottons, silks, taffeta, etc.
(if you are designing a hat to go with a dress be sure that they match or coordinate with the outfit.)
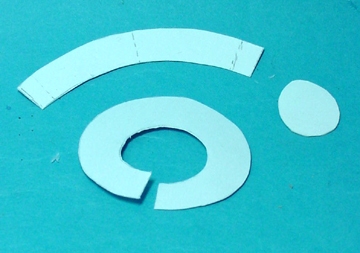 Trace and cut out pieces of pattern
from thin cardstock.
Be sure to lightly transfer all markings.
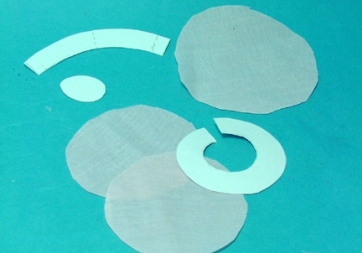 Cut three circles of fabric that are
slightly larger than the brim piece
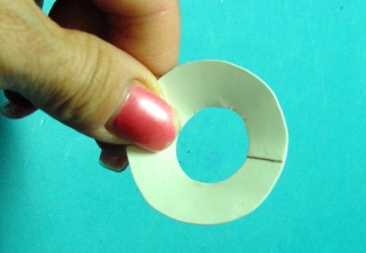 Glue ends of brim piece by overlapping
ends and matching up the
marks on pattern. Let set to dry.
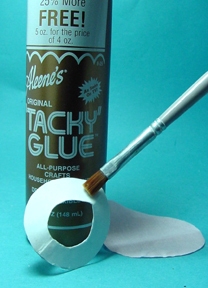 Brush a thin layer of tacky glue
all over one side of brim.
Let this set up a bit to become even more tacky.
This is key here as we don’t want
the glue to go through the fabric.
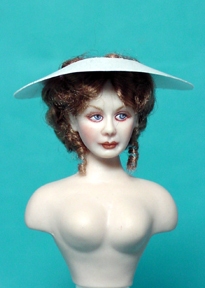 I like to test fit here to see
how the hat will sit on
the doll’s hair style.
**Looks Good**
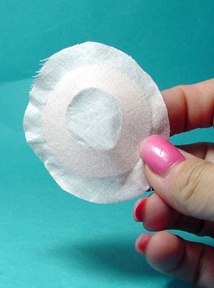 Carefully add the fabric over
the glue and smooth out.
Let set.
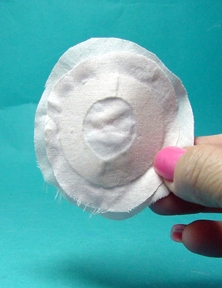 Repeat this process on the
other side of brim.
It should look like this.

