Victorian Hat Tutorial – Page 2
Let’s continue, this will go quickly!
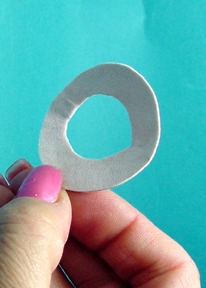
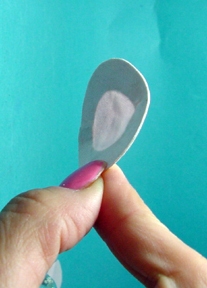 This part is fun!
This is a technique I developed that I swear by!
IT WORKS!
While it is still damp,
use VERY sharp scissors to trim
excess fabric around outside edge of brim.
It will seal the edges together nicely!
Repeat the process of trimming the inner
circle of the brim with sharp scissors.
Oooh! Perfect!
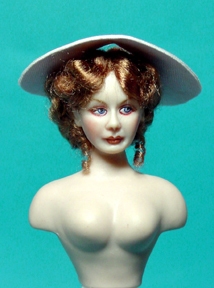
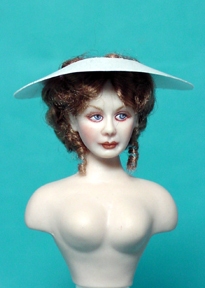 OKAY! Testing again! I like to do this.
As you can see, the added bulk
of the two layers of fabric has
changed the way the hat sits on the dolls head.
Something to think about when creating a hat.
Notice how much thinner the
cardstock was before the fabric and how
much lower it sat on her head?
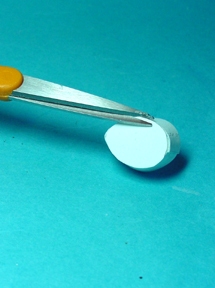
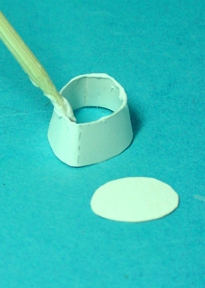 Glue cardstock crown pieces
together by overlapping ends
and matching marks.
Apply glue to top edge of crown and
carefully place crown top on.
Trim edges around top
of crown if necessary.
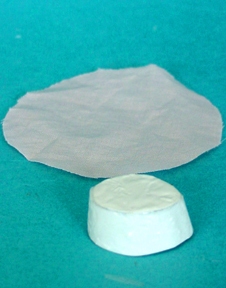
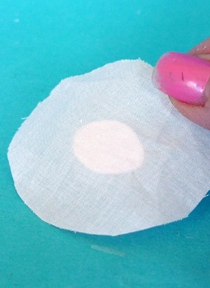 In this photo, the glue has been
lightly brushed over the ENTIRE
surface of the cardstock crown
(yep, that bumpy look is the glue, not the cardstock),
Do NOT attempt to adjust your monitors
Let set up a bit .Carefully place
fabric circle on top of crown.
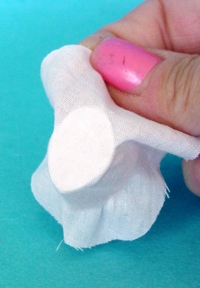
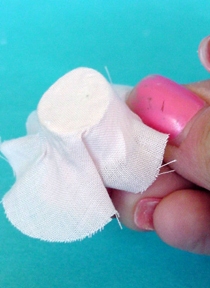 Start to smooth the fabric
down from the top and over
the sides of the crown.
Stretch the fabric a bit as you
smooth and try to work
the fabric towards the
back to form a “seam”

