Victorian Hat Tutorial – Page 4
Are you having fun yet?
I sure enjoy this part of the process!
Let’s finish up!
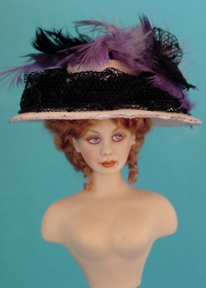 Ahh, those famous
hand dyed “cockatiel” feathers
from my other tutorial finally
make themselves useful.
I used about 10 on this hat.
Some were black, some were violet.
Since each feather is unique in
shape and color, play around
with them until you are satisfied
with the “arrangement”
Secure with dabs of tacky glue.
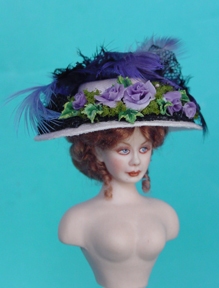 Okay, I can hear it now!!!!
Where did “she” get those roses?
I made them from “cold porcelain” ,
as well as the leaves.
Yes, I will do a tutorial on them next!
Glue some mini landscape “bush”
material on the front and back of the hat.
I arranged about 5 roses in varying
sizes in the front along with
a few scattered leaves.
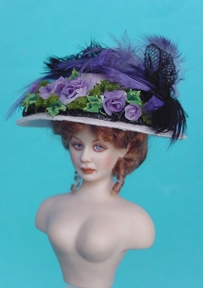 This is another angle showing
the placement of the roses and
leaves among the landscape material.
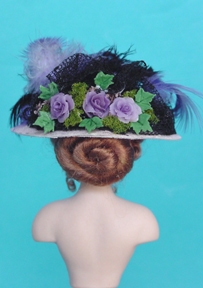 The back view shows three
roses with scattered leaves.
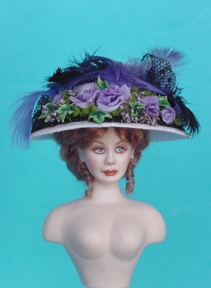 Now I have added some natural
dried flowers to simulate
baby’s breath.
It is also lavender in color
and compliments the
arrangement nicely.
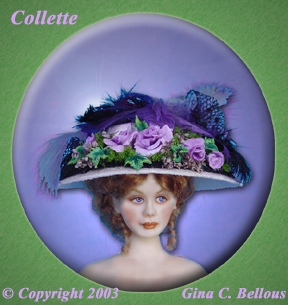
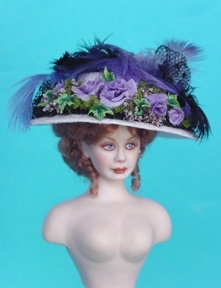 Colette is thrilled
with her new hat.
It was painless , wasn’t it?
YOU DID IT! YEAH!
THANKS SO MUCH FOR JOINING ME!
Check back on my tutorial link to see what will be taught next.
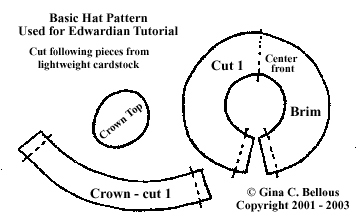
Here is the basic Pattern for the hat.
To print it actual size, right click on the image to
save to file. It is shown actual size
(card it was designed on is a 3 x 5 card if this helps)
© Gina C. Bellous 2001 – 20012 – All Rights Reserved
This tutorial is for your personal use only.
NO portion of this tutorial may be
reprinted without permission,
copied for sale, or to be taught as your own.
Thank you for your cooperation
Enjoy!

