>HI,
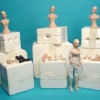
I only have 3 Lily Kits left at the Monthly Special price. After next week they will be moved to my in stock page at the normal price.

>Hey all,
Thanks so much for your continued interest and for visiting my blog and leaving such lovely comments. I am currently working on finishing up all of the Lily special of the month doll kits as well as a few other orders. The portrait sisters will resume soon. Next they will be getting their undergarments!
>
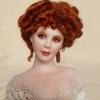
Here’s the girls all wigged! They are really starting to come to life now!
Here you can see how Jocelyn’s hair progressed. Stephanie’s hair was finished the same way. Their hair still needs a good final styling and clean up, but that won’t be done until the very end after they are dressed. Notice the tiny fringe hairs around the hair line. They help to add realism to the dolls. They will also be refined at the end.
(Click on the photos for a larger view)
One last look at Stephanie’s cute little face!
?
>
Here’s the girls all wigged! They are really starting to come to life now!
Here you can see how Jocelyn’s hair progressed. Stephanie’s hair was finished the same way. Their hair still needs a good final styling and clean up, but that won’t be done until the very end after they are dressed. Notice the tiny fringe hairs around the hair line. They help to add realism to the dolls. They will also be refined at the end.
(Click on the photos for a larger view)
One last look at Stephanie’s cute little face!
?
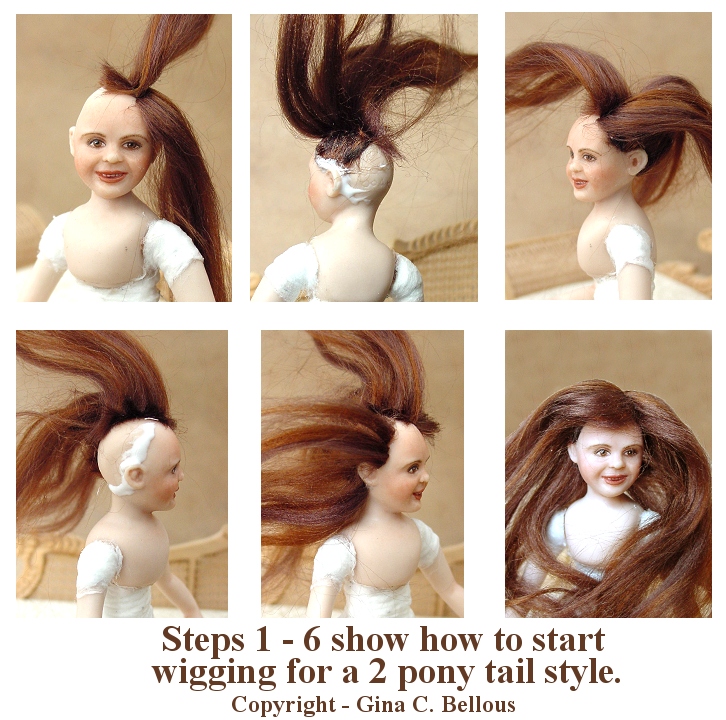
>Here is a photo showing how I begin wigging for a 2 ponytail style. The hair is really more brown than it looks in the photo. Both girls will have side parts in their hair.
Click on the photo for a larger view!
- Photo 1 – Run a seam of glue off center and lay 1 strip of hair along glue. Let set up and repeat for other side of part.
- Photo 2 – Run a seam of glue down 1 side in front around ear to base of skull.
- Photo 3 – Lay 1 strip of hair along this glue line. Let set up and flip hair up away from ear.
- Photo 4 – Repeat step 2 on other side of dolls head
- Photo 5 – Repeat step 3 on other side of doll’s head.
- (Not pictured) – Run a bead down back of dolls head to base of skull. Lay a strip of hair over this glue, let it set up, repeat for opposite side of hair. Let hair dry Completely!
- Photo 6 – Jocelyn has a mound of flowing hair which will soon be pulled into 2 ponytails!