Great New Look For My Updated Website!

>Hi All,
Liliam has sent me her address so I can mail out her prize, but I don’t know how to ut it into an actual mailing address. if I use a translator it comes up different. Can anyone help me put her address in American address format? This is her info:
me llamo liliam rodriguez direccion es calle 2 solar51 barros blanco departamento de canelones pais uruguay codijo postal 9001 cualquier cosa escribime no entiendo mucho tu idioma espero mandarte bien mis datos gracias.
Help?
Thanks to anyone who can offer assistance.
Hugs,
Gina
>Hi all,
Okay, I have decided to have the first “Give-away” on my blog. I will start with smaller items for doll making and as the followers grow so will the value of the prize!
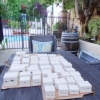
The first give-away is for some fantastic Antique Lace. It will be for 3 yds of 3 different antique laces. Some of them are French. They are valued at $4.00 – $6.00 per yard (if you can even find any for sale). That is a total value of $42.00 in lace, not bad for a first time give away. They are very fine cotton. This should be enough to create a lovely doll or more. Rules below.
First: You need to make sure you are a follower on my blog (click “follow” if you haven’t already).
Secondly: You just need to comment on this post telling me that you are indeed interested in being in the contest, and what your miniature interests are and what you would do with the lace if you won! That’s it. You only need to comment once and I will take all of the names of the entrants and have someone in my family pull the lucky winners name!
The Contest will close the end of next week at 9:00 pm Pacific time! Good luck everyone and don’t forget to tell your friends!
Hugs,
Gina
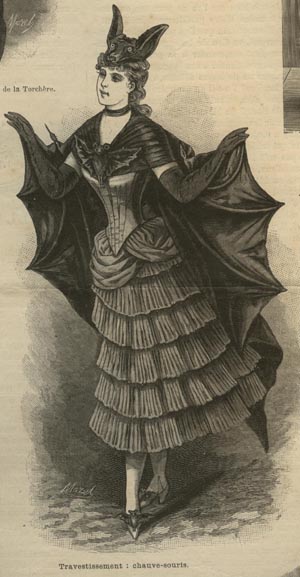
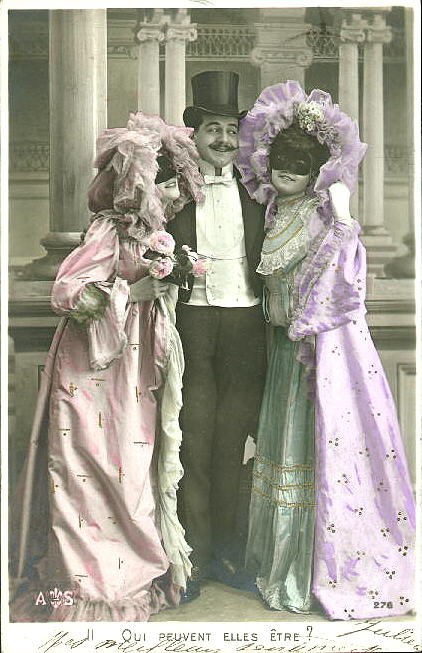
>Here are some great antique photos I found online:
I especially loved this “Bat Costume” Awesome detail. Look at her shoes too!
>Stephanie & Jocelyn are finally finished! It has taken awhile to get them done in between all of the other things I had going on!
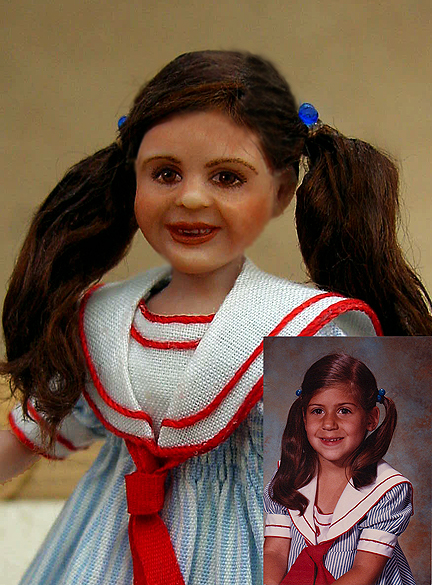


>Stephanie & Jocelyn are finally finished! It has taken awhile to get them done in between all of the other things I had going on!
>Stephanie & Jocelyn are finally finished! It has taken awhile to get them done in between all of the other things I had going on!
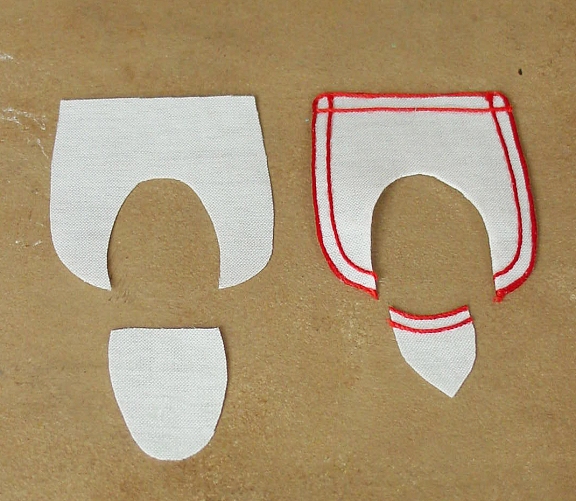
>Now the costuming get to be a bit fun. I love the small details as they add realism to the tiny dolls.

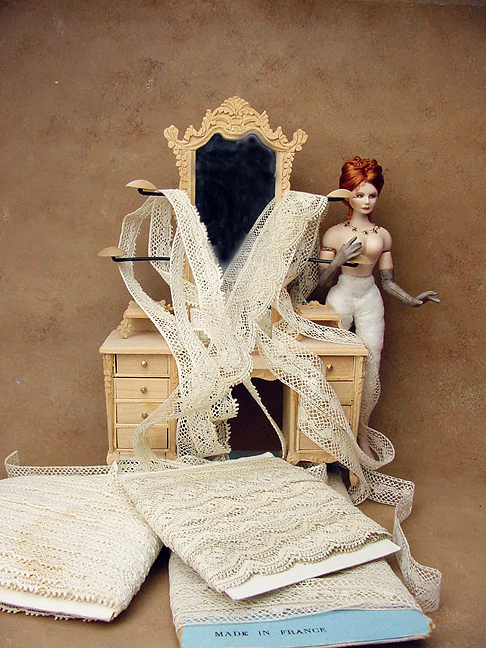
Materials:
I had to hand dye the silk cord trim & silk ribbon as I didn’t have any in red. I also dyed some antique trim but as you can see in the photo, it came out a muted shade of red. It will be perfect for another project, but not this one.


>Now the costuming get to be a bit fun. I love the small details as they add realism to the tiny dolls.
Materials:
I had to hand dye the silk cord trim & silk ribbon as I didn’t have any in red. I also dyed some antique trim but as you can see in the photo, it came out a muted shade of red. It will be perfect for another project, but not this one.