Cold Porcelain Miniature Flower Tutorial – Page 4
Basic “Cold Porcelain”
Miniature Flower Making Tutorial
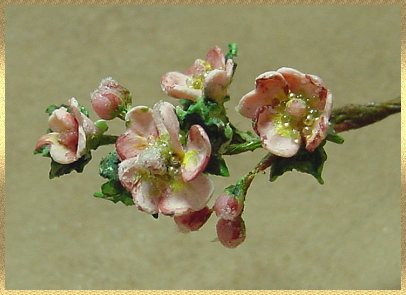
1/12th scale Apple Blossoms
Our flower is really taking shape now but we need to make some leaves.
You will need your ball stylus, tacky glue, a leaf punch & some green clay.
A magnifying lamp will be helpful if you find it difficult to see tiny things well.
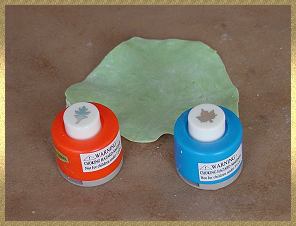 Flatten out a ball of the green clay like you did with the pink clay.
Make it as thin as possible.
Be sure it is dusted with cornstarch so it wont stick to the punch.
Pictured are two different leaf punches, either one
will work fine or you can use a large teardrop punch (my favorite, but I couldn’t find it).
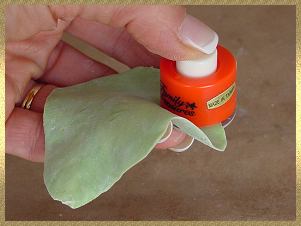 Gently pull the clay into the slot on the punch.
Press down firmly and hold the punch down so it can’t pop
up.
It will easier to remove the clay this way.
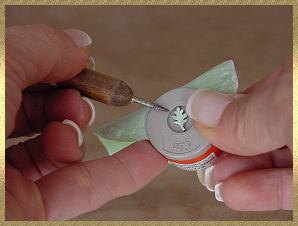 While still holding the punch closed Turn the punch over and use
either a toothpick or the pointed end of the ball stylus
to gently remove the punched out clay.
Let it fall to the table below.
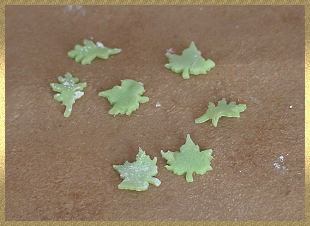 Here are some punched leaves. They will need to set up a bit.
If you are going to be away from your work for a bit, you can cover
the cutouts with a piece of lightly moistened plastic wrap.
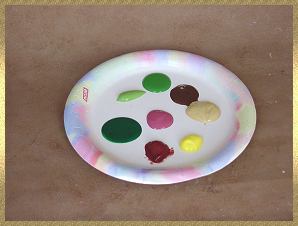 Next we will paint the details on our flower while the leaves set up a bit.
A simple coated paper plate is the perfect palette, and disposable!
I used burgundy, rose, beige, yellow, brown & three different shades of green.
A light, medium and dark hue. These are just everyday normal bottle acrylics.
Back Next Page
© Gina C. Bellous 2001 – 2015 – All Rights Reserved
This tutorial is for your personal use only.
NO portion of this tutorial may be
reprinted without permission,
copied for sale, or to be taught as your own.
Thank you for your cooperation
Enjoy!

