Making A Miniature Doll Shoe – Part 4
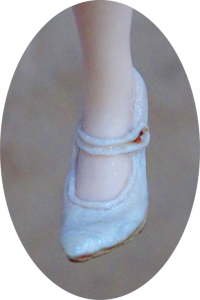 Were are almost finished. Soon your little ladies will have lovely shoes on their feet. Exciting!
These next photos will just show you the tiny details and the finished
shoe with the bottom painted a dark tan color.
(Click on Images for a larger view)
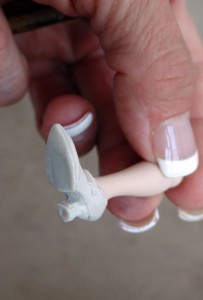
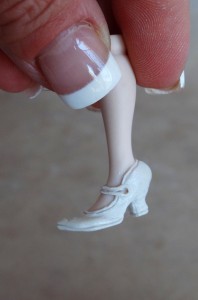
A detail of the bottom of the shoe.
It is hard to see, but the lines should go all
the way around the bottom of the shoe
to simulate a separate sole.
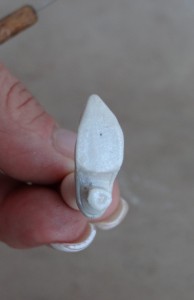
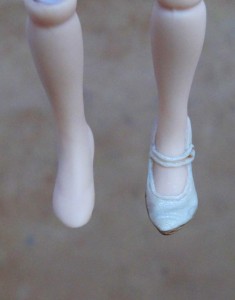
Here is the bottom. See how one side
curves inward?
This is the left shoe.
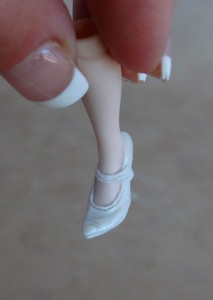
I have added 2 “crease” lines along the top
of the shoe to give it a more realistic look.
My shoes always get little creases like this
from bending when I walk.
These are the tiny details that add realism.
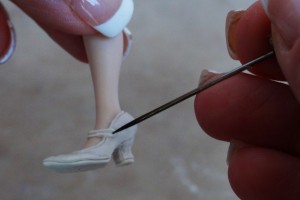
This shoe could use a “button hole” on
the strap. use the needle tool to malke a slit.
use the ball stylus to push a “hole” into the slit
Here is the “button hole”. You will glue a tiny
micro bead in the color of your choice inside the hole
when you are finished and the shoe has been baked.
Now make another shoe in the mirror image to match this shoe.
Don’t get fristrated, it can be a bit daunting trying to get it to match.
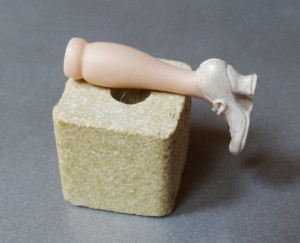
Time to bake your creation. Sculpy bakes at 275 degrees F
for about 12 – 15 minutes. I use a kiln stilt to support
the leg so the shoe doesn’t touch anything while
it is baking and curing.
I painted the bottom of the shoe and the tiny
side edges with a dark tan acrylic paint.
I darkened the button hole as well so it will have
a nice shadow and the illusion of depth when I glue’the tiny
bead on. See the difference from before and after?
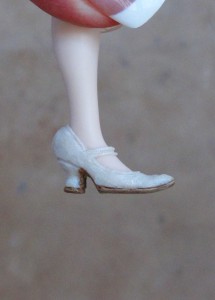
Here is a side view of the shoe. You can see the nice “sole”
on the shoe as well as the tiny details. I wish you could
see how sparkly the shoe is. So pretty.
You can get the Miranda Leg Mold here:
https://ginabellousdolls.com/molds/ $30.00
Back First Page
© Gina C. Bellous 2015 – All Rights Reserved
This tutorial is for your personal use only.
NO portion of this tutorial may be
reprinted without permission,
copied for sale, or to be taught as your own.
Thank you for your cooperation
Enjoy!

