Miniature Doll Mold Making Tutorial – Page 3
“Molding Melissa”
Basic Instructions For Making A Plaster Mold
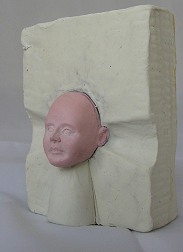 A clay “spare”
Has been added to
the neck to form
half of the pour hole.
It follows the dark line
under her chin and tapers
out to form a nice large
pour hole.
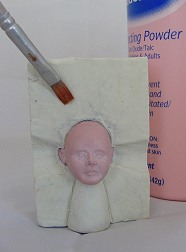 Okay! We are ready
for the final smoothing
of the mold.
Use baby powder and a soft
brush to smooth the clay.
Your finger is also a great
tool for smoothing.
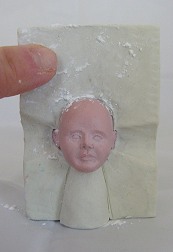 Smoothing is critical if
you want a good, smooth,
quality mold with fine
seam lines.
Melissa is a test mold
to shrink her down so
smoothness will not be as
critical for me.
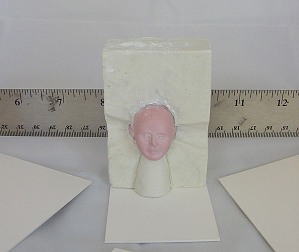 The clay bed has been smoothed out and
the clay has been trimmed & squared out
to fit the acrylic boards around the
sculpture evenly, and to insure a
nice looking mold. Carefully measure and
cut four pieces of acrylic or mat board to fit around
the clay. They should be just more than twice
the height of the clay bed.
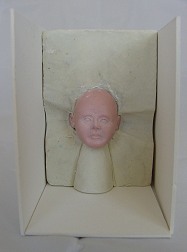 Carefully add the pieces
of board around the
clay bed.
Try to keep them as
even as possible.
Be sure they are
vertically straight and
that they all rest on the
work surface evenly.
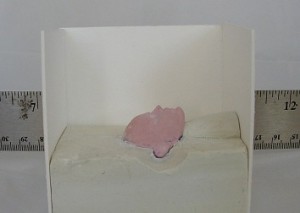 Here you can see how much taller
the walls of the casing are than the
clay bed. The fourth wall will
be added and the sculpture will
then be “boxed up”.
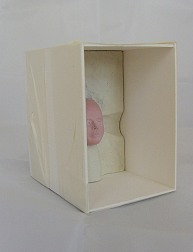 The sculpture has been
“boxed up” and secured
tightly with masking tape.
Notice that there are no
big gaps between the
boards and clay bed.
Back Next
© Gina C. Bellous 2001 – 2012 – All Rights Reserved
This tutorial is for your personal use only.
NO portion of this tutorial may be
reprinted without permission,
copied for sale, or to be taught as your own.
Thank you for your cooperation
Enjoy!
