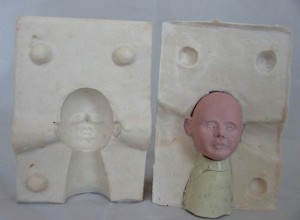
Miniature Doll Mold Making Tutorial – Page 5
“Molding Melissa”
Basic Instructions For Making A Plaster Mold
Pouring the Second Half
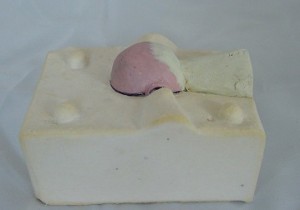 Put sculpture back into plaster mold, face down. Add a “spare” of oil based clay to create the other half of the pour hole.
This is important, or you will lose the pour hole and ruin your sculpture.
A tiny bit of oil clay has been added to the back of the head as I felt it needed a little rounding out.
Remember, this is only a test mold to shrink Melissa down in size.
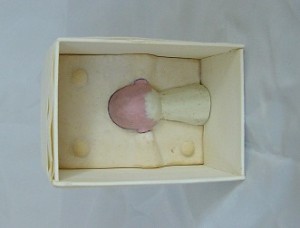 The sculpture is once again “boxed up” with the boards.
Be sure to secure them very tightly around the plaster sides.
At this step, I take NO chances.
I brush on a light coat of Vaseline Petroleum Jelly on
the plaster surface.
Then, add a light coat of mold release. This has always been foolproof for me, and the mold will separate very easily!
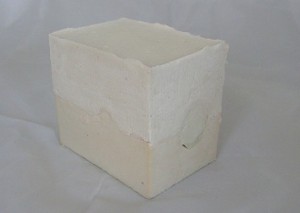 Mix and Pour the plaster the same way as before.
Fill it up again almost to the top! Grab lunch or something while you wait for the plaster to set up.
It is even more important that you let this half
cure a long time.
Go ahead andremove the boards! Cross Your Fingers!
This is the moment we have all been waiting for!
The mold separated Effortlessly!
This is one of the most rewarding moments of sculpting!
Finally seeing a useable mold of your work.
It won’t be long now!
Melissa is well on her way to becoming a 1/12th scale miniature figure!
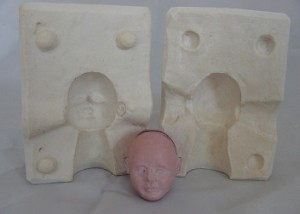 Now the mold halves are cleaned up with a sharp razor blade or knife.
The edges are angled to keep them from chipping and to
make the mold easier to separate when pouring, and because, well…it just looks so pretty that way!
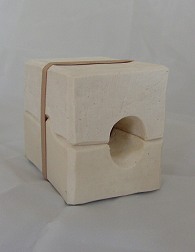 Band the molds tightly
together until they are dry!
Let them dry out slowly.
Don’t rush them!
I can hardly wait to pour Melissa!
SUCCESS!
Thank you so much for joining me in making a mold of Melissa
Check back on my tutorials pages often as I try to add new classes.
Next: Melissa will be shrunken down and another test mold will be made.
From there she will be poured, fired, painted, assembled, costumed
& wigged, and perhaps down the line, be made into
a commercial mold.
Back To Page 1 Back
© Gina C. Bellous 2001 – 2012 – All Rights Reserved
This tutorial is for your personal use only.
NO portion of this tutorial may be
reprinted without permission,
copied for sale, or to be taught as your own.
Thank you for your cooperation
Enjoy!

